How to set up TypeScript with Node.js and Express

Ease of development is great when you’re building a server written in JavaScript and using Node.js and Express. But what happens when your application server scales, or you’re working on a team of developers all across the world? In these instances, TypeScript can help.
In this article, we’ll cover a beginner-friendly way to set up TypeScript in an Express app, understanding the basic constraints that come with it.
To take full advantage of this tutorial, be sure you have the following:
- Node.js version ≥ v12.x installed in your local development environment
- Access to a package manager like npm or Yarn
- Basic knowledge of Node.js and Express
Create a package.json file
Start by creating a new directory wherever you keep your side projects in your local development environment. Inside that directory, use npm’s initializer command to create a package.json file:
mkdir node-express-typescript
cd node-express-typescript/
npm init --yes
When you initialize a package.json file, the --yes flag uses the default settings you have set up from npm config. The newly created package.json file might look something like the following code:
{
  "name": "express-typescript",
  "version": "1.0.0",
  "description": "",
  "main": "index.js",
  "scripts": {
    "test": "echo \"Error: no test specified\" && exit 1"
  },
  "type": "module",
  "keywords": [],
  "author": "",
  "license": "ISC"
}
Create a minimal server with Express
After initializing the package.json file, let’s add an Express package. From the terminal window, run the command below:
npm install express dotenvNext, to trigger a minimal server, create a new file called index.js at the root of the project with the following code:
const express = require('express');
const dotenv = require('dotenv');

dotenv.config();

const app = express();
const port = process.env.PORT;

app.get('/', (req, res) => {
  res.send('Express + TypeScript Server');
});

app.listen(port, () => {
  console.log(`[server]: Server is running at https://localhost:${port}`);
});
The dotenv package is used to read environment variables from the .env file. Create it in the root of your Node.js app, then create the environment variable for PORT=8000.
To start the server, go back to the terminal and trigger the command node index.js:
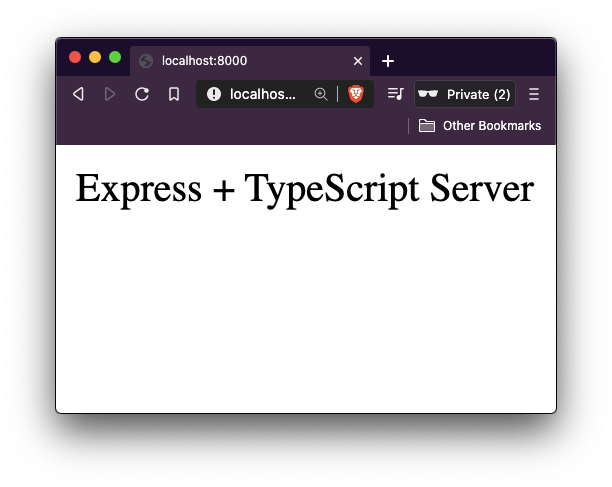
The Express server is now up and running!
Installing TypeScript
We’ll start by installing TypeScript as a dev dependency. Along with it, we’ll install the the @types declaration packages for Express and Node.js, which provide type definitions in the form of declaration files.
Declaration files are predefined modules that describe the shape of JavaScript values, or the types present, for the TypeScript compiler. Type declarations are usually contained in files with a .d.ts extension. These declaration files are available for all libraries that were originally written in JavaScript, not TypeScript.
The DefinitelyTyped GitHub repository maintains the TypeScript type definitions for use directly in Node.js and other JavaScript projects, so you don’t have to define these types from scratch. To add these types or the declaration files related to a particular library or a module, you have to look for the packages that start with the @types namespace.
Open the terminal window and install the packages described above with the following command:
npm i -D typescript @types/express @types/nodeThe -D flag, also known as the --dev flag, is a specification for the package manager to install these libraries as devDependencies.
Once these libraries are installed, go to the package.json file where you’ll see a new devDependencies object:
{
"devDependencies": {
"@types/express": "^4.17.13",
"@types/node": "^17.0.10",
"typescript": "^4.5.5"
}
}
Generating tsconfig.json
Now, we have a TypeScript project compiled with some default configuration options. The tsconfig.json file provides these default options and also provides us with the ability to tweak or customize the compiler options.
Typically, the tsconfig.json file lives at the root of the project. To generate it, we’ll use the tsc command:
npx tsc --initThe command above will generate a new file called tsconfig.json with the following default compiler options:
target: es2016
module: commonjs
strict: true
esModuleInterop: true
skipLibCheck: true
forceConsistentCasingInFileNames: true
If you open the tsconfig.json file, you’ll see a lot of other compiler options that are commented out. In tsconfig.json, compilerOptions is a mandatory field that needs to be specified. The options used in the config above are:
target: Allows us to specify the target JavaScript version that the compiler will outputmodule: Allows us to use a module manager in the compiled JavaScript code. CommonJS is supported and is a standard in Node.jsstrict: An option that enables strict type-checking optionsesModuleInterop: Allows us to compile ES6 modules to CommonJS modulesskipLibCheck: If set totrue, skips type-checking of default library declaration filesforceConsistentCasingInFileNames: When set totrue, enables case sensitive file naming
One option that you will have to enable is called outDir, which specifies where the output will be located after the compilation step. You can search for this option in the tsconfig.json file and uncomment it.
By default, the value of this option is set to the root directory. Change it to dist:
{
  "compilerOptions": {
    "outDir": "./dist"

    // rest options remain same
  }
}
While there are probably other configuration options that you can add on to the TypeScript compiler, the options listed above are basic specifications that can help you get started.
Create an Express server with a .ts extension
Now, you can easily convert the minimal server code in index.js to an index.ts file.
First, rename the file to index.ts. The .ts extension is a file extension that determines what TypeScript files are compiled to JavaScript files later when we build the server.
Open the index.ts file and modify it, as shown below:
import express, { Express, Request, Response } from 'express';
import dotenv from 'dotenv';
dotenv.config();
const app: Express = express();
const port = process.env.PORT;
app.get('/', (req: Request, res: Response) => {
res.send('Express + TypeScript Server');
});
app.listen(port, () => {
console.log(` [server]: Server is running at https://localhost:${port}`);
});
[server]: Server is running at https://localhost:${port}`);
});Watching file changes and build directory
Another development-related utility library I like to use when working on Node.js projects is nodemon. nodemon is a tool that helps develop Node.js based applications by automatically restarting the Node.js application when file changes in the directory are detected.
We’ll also install another dev dependency called Concurrently, which will allow us to run multiple commands like nodemon to watch file changes and the tsc command to compile the code:
npm install -D concurrently nodemonAfter installing these dev dependencies, update the scripts in the package.json file:
{
  "scripts": {
    "build": "npx tsc",
    "start": "node dist/index.js",
    "dev": "concurrently \"npx tsc --watch\" \"nodemon -q dist/index.js\""
  }
}
The build command will compile the code in JavaScript inside a dist directory. The dev command is used to run the Node.js server in development mode.
Now, go back to the terminal window and run npm run dev to trigger the development server:
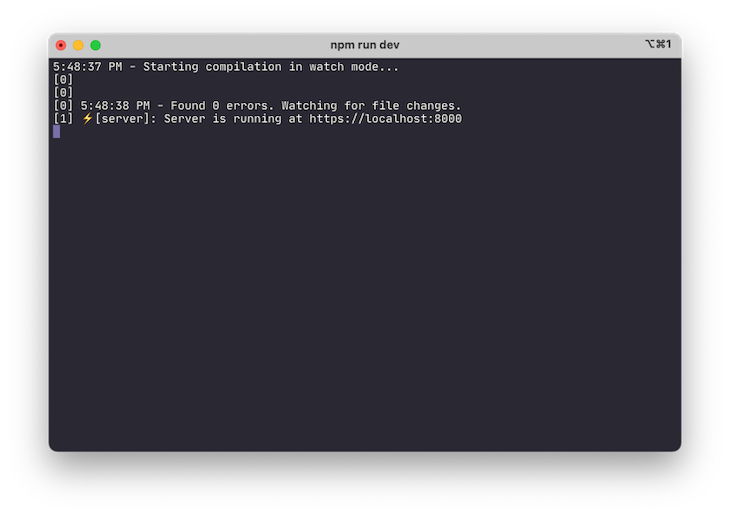
There are no errors, indicating that the server is successfully running. You can go to the browser window to see the result.
Since nodemon detected changes, let’s try to edit the message sent from res.send() and simultaneously take a look at the terminal to see if nodemon detects any file changes or not:
To compile the code, you need to run the command npm run build. There is a new dist directory created after this command executes successfully. Inside this directory, the TypeScript code is compiled to valid JavaScript:
'use strict';
var __importDefault =
  (this && this.__importDefault) ||
  function (mod) {
    return mod && mod.__esModule ? mod : { default: mod };
  };
Object.defineProperty(exports, '__esModule', { value: true });
const express_1 = __importDefault(require('express'));
const dotenv_1 = __importDefault(require('dotenv'));
dotenv_1.default.config();
const app = (0, express_1.default)();
const port = process.env.PORT;
app.get('/', (req, res) => {
  res.send('Express + TypeScript Server is running.');
});
app.listen(port, () => {
  console.log(`[server]: Server is running at https://localhost:${port}`);
});
If you specify any other directory as the value of the property outDir in the tsconfig.json file, that directory would be reflected here instead of dist.
Conclusion
Using TypeScript has its benefits, but it does come with a bit of a learning curve. You have to carefully analyze whether using TypeScript in your Node.js and Express backend projects is beneficial or not, which may depend on the requirements of your project.
Make sure to check out the different Typed Definitions or go to the official TypeScript documentation to explore more. I hope you enjoyed this project! Be sure to leave a comment if you have any questions. Happy coding!


Comments
Post a Comment